Provided UI Components
We provide ready-made, secure UI screens that you can either redirect users to or embed directly:
Start New Verification Screen
At the start, end users can either verify an existing proof or generate a new one.
In the verification process the user will go through 4 steps that will verify their Liveness and legal identity
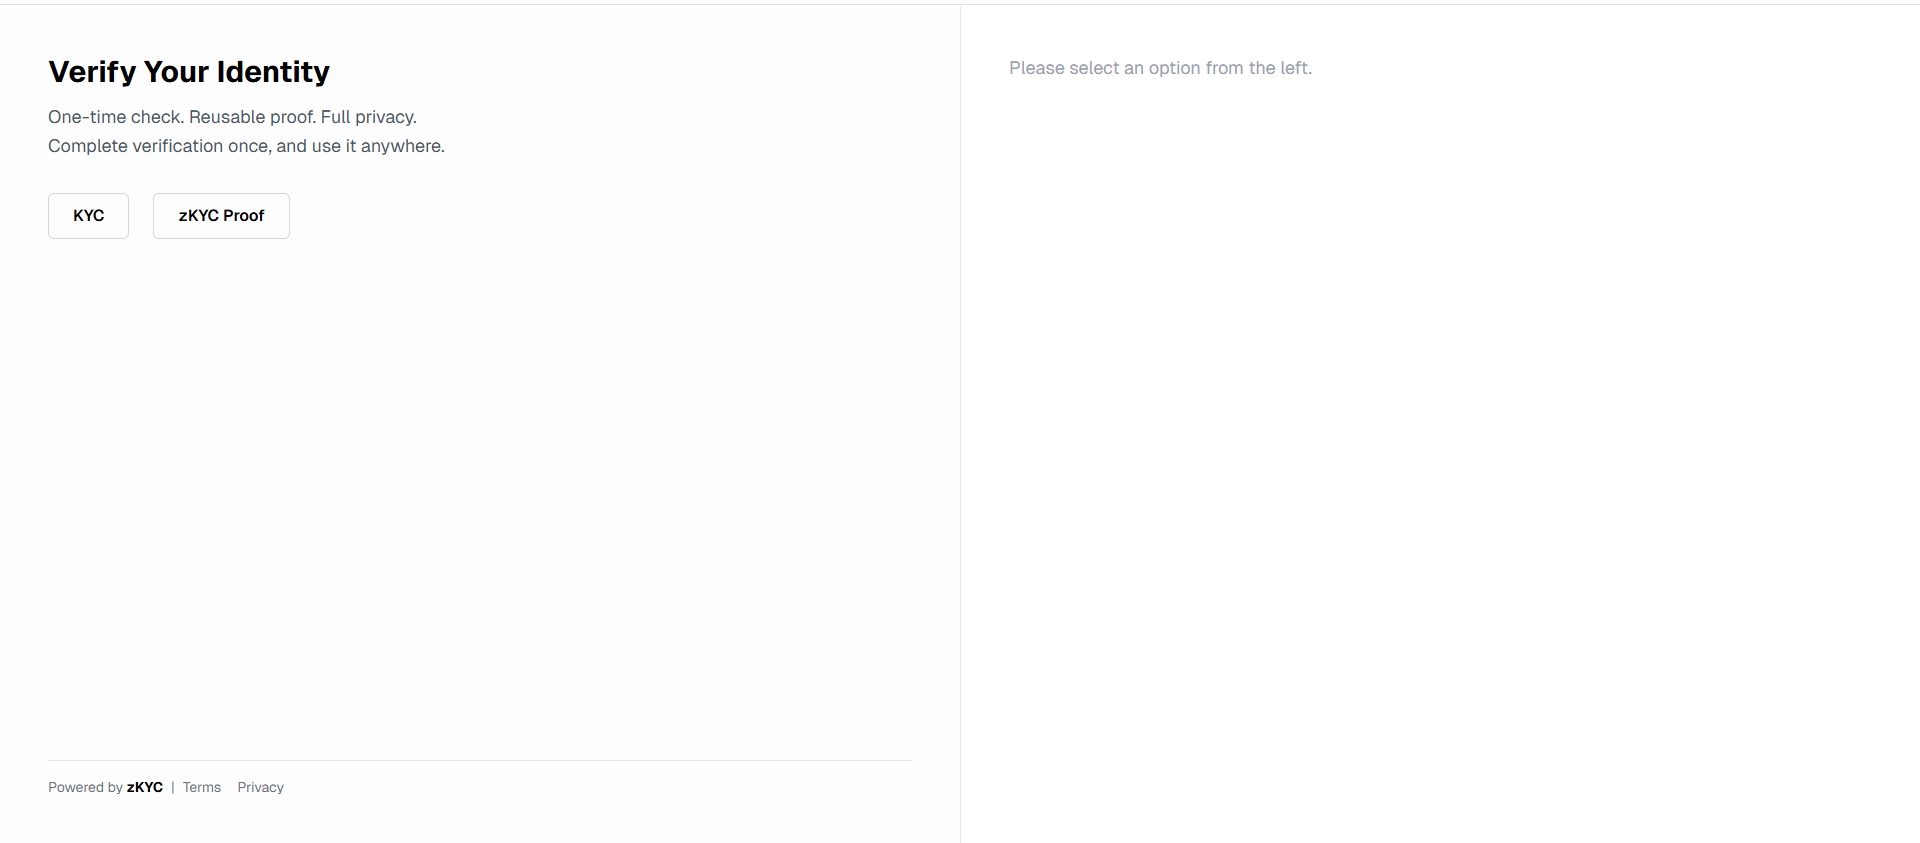
Now the user can start a new verification by following the provided steps.
First, the user can upload their contact information.
Facemacth
For an added layer of compliance users will be prompted to activate their camera and take a photo that image will be used for a facematch with the provided document in upcoming steps
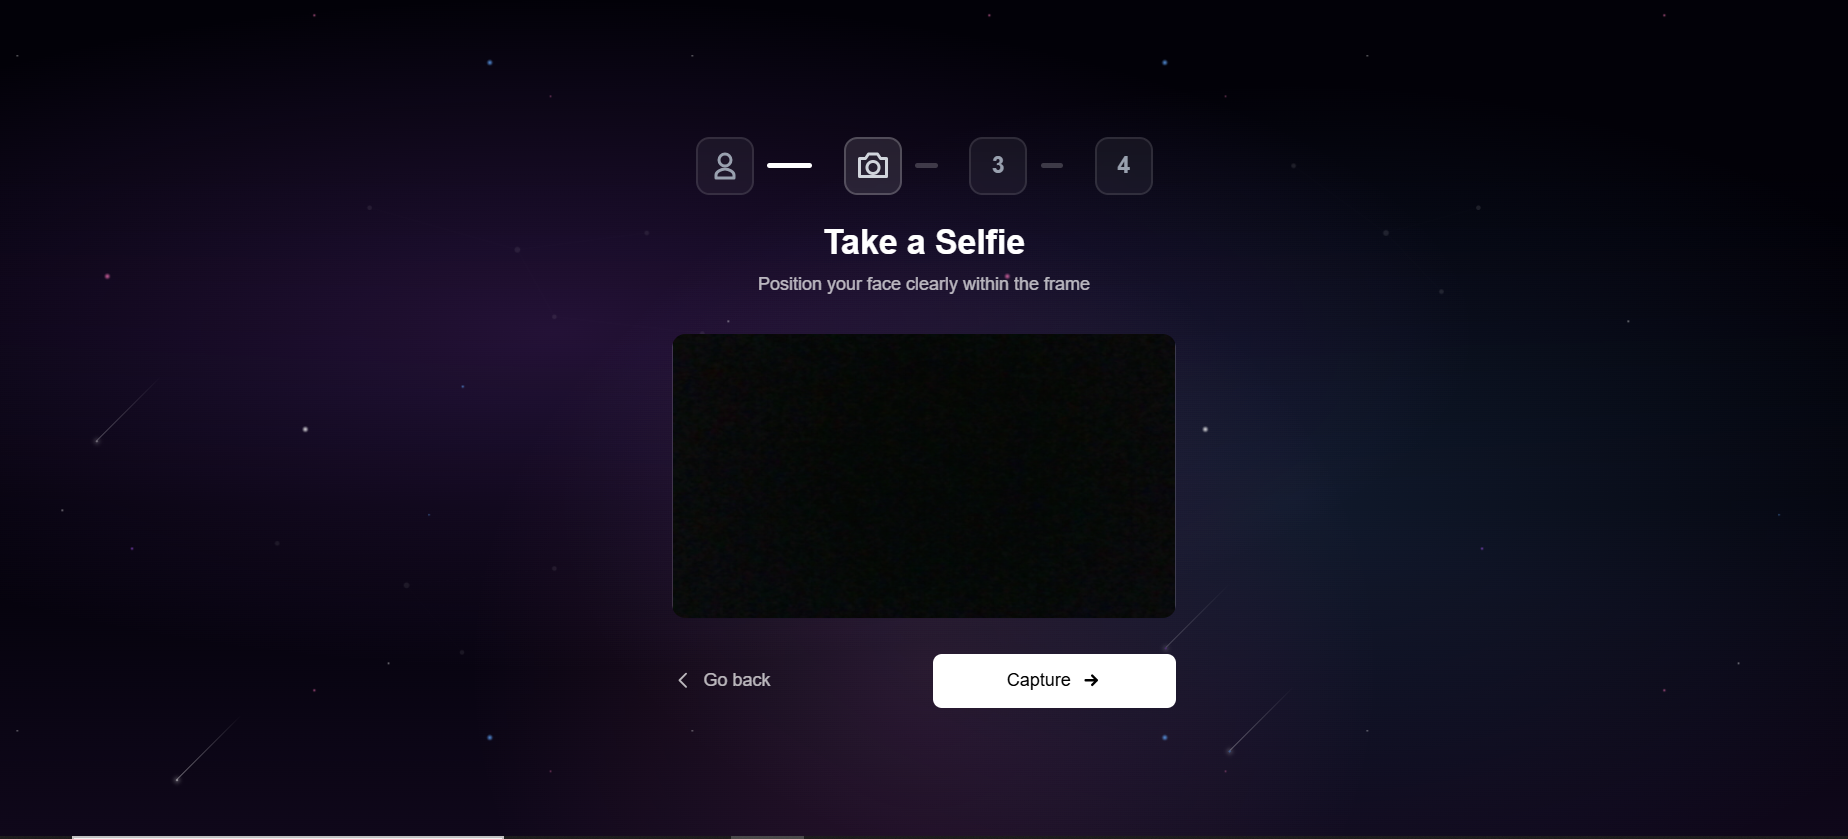
Liveness Detection
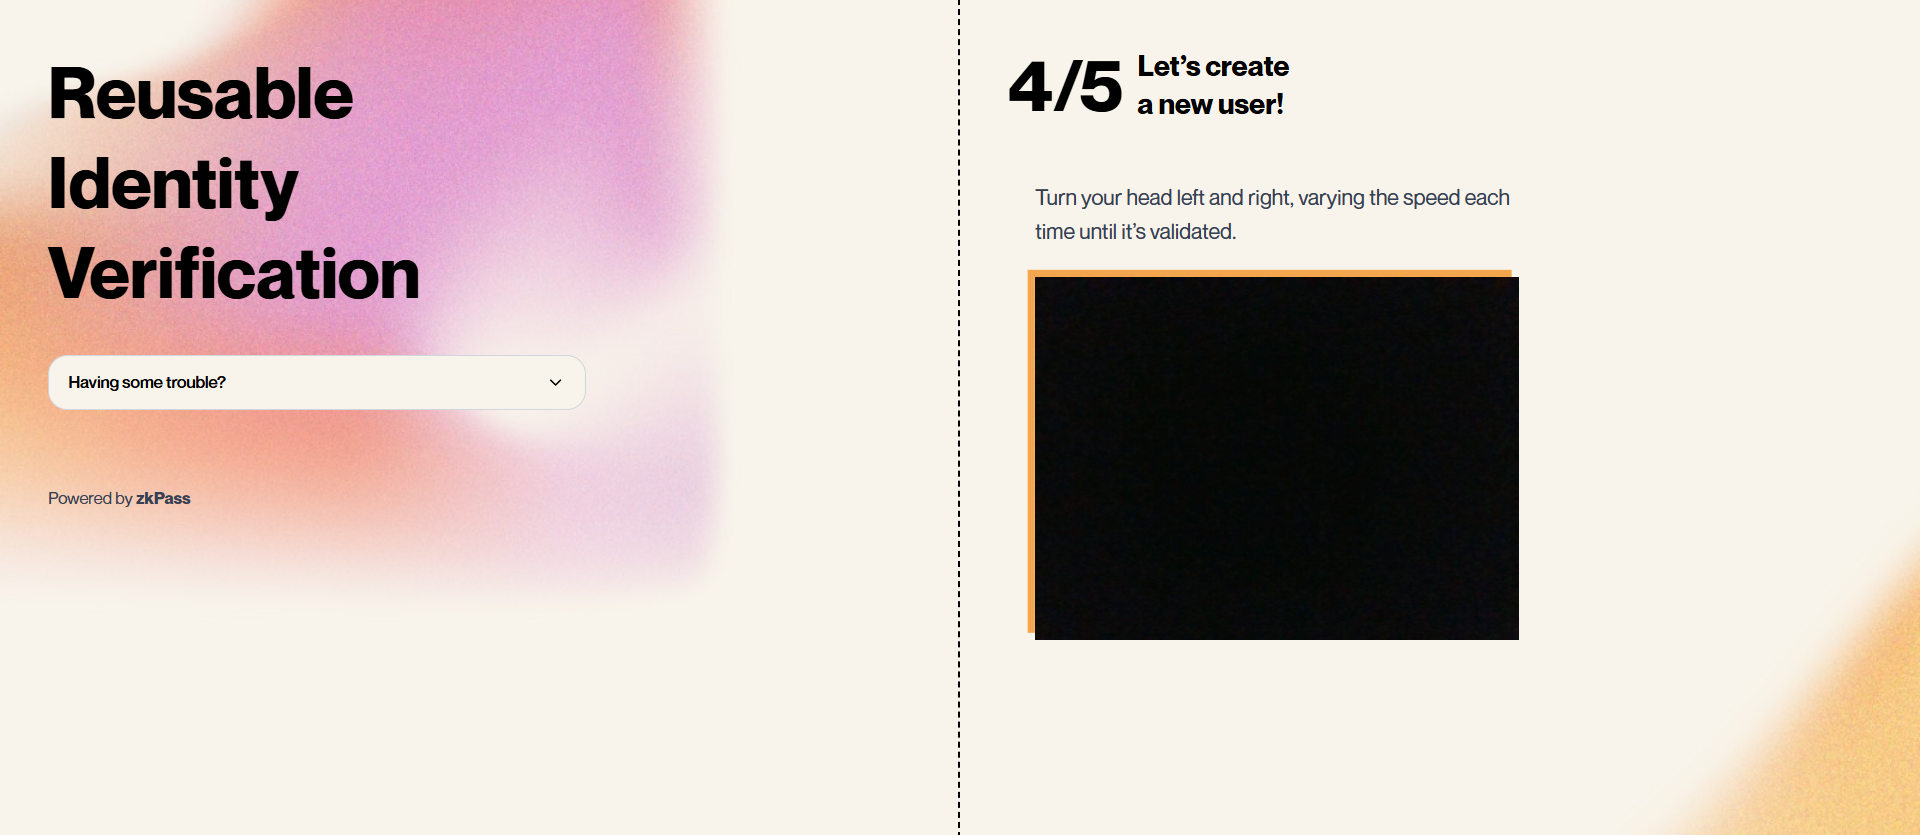
Users activate their camera for facial detection to confirm they are real, preventing fraud and ensuring identity authenticity.

Users upload their identification documents to create a secure proof of identity for KYC verification. OCR text extraction is available as an optional feature to streamline the process.
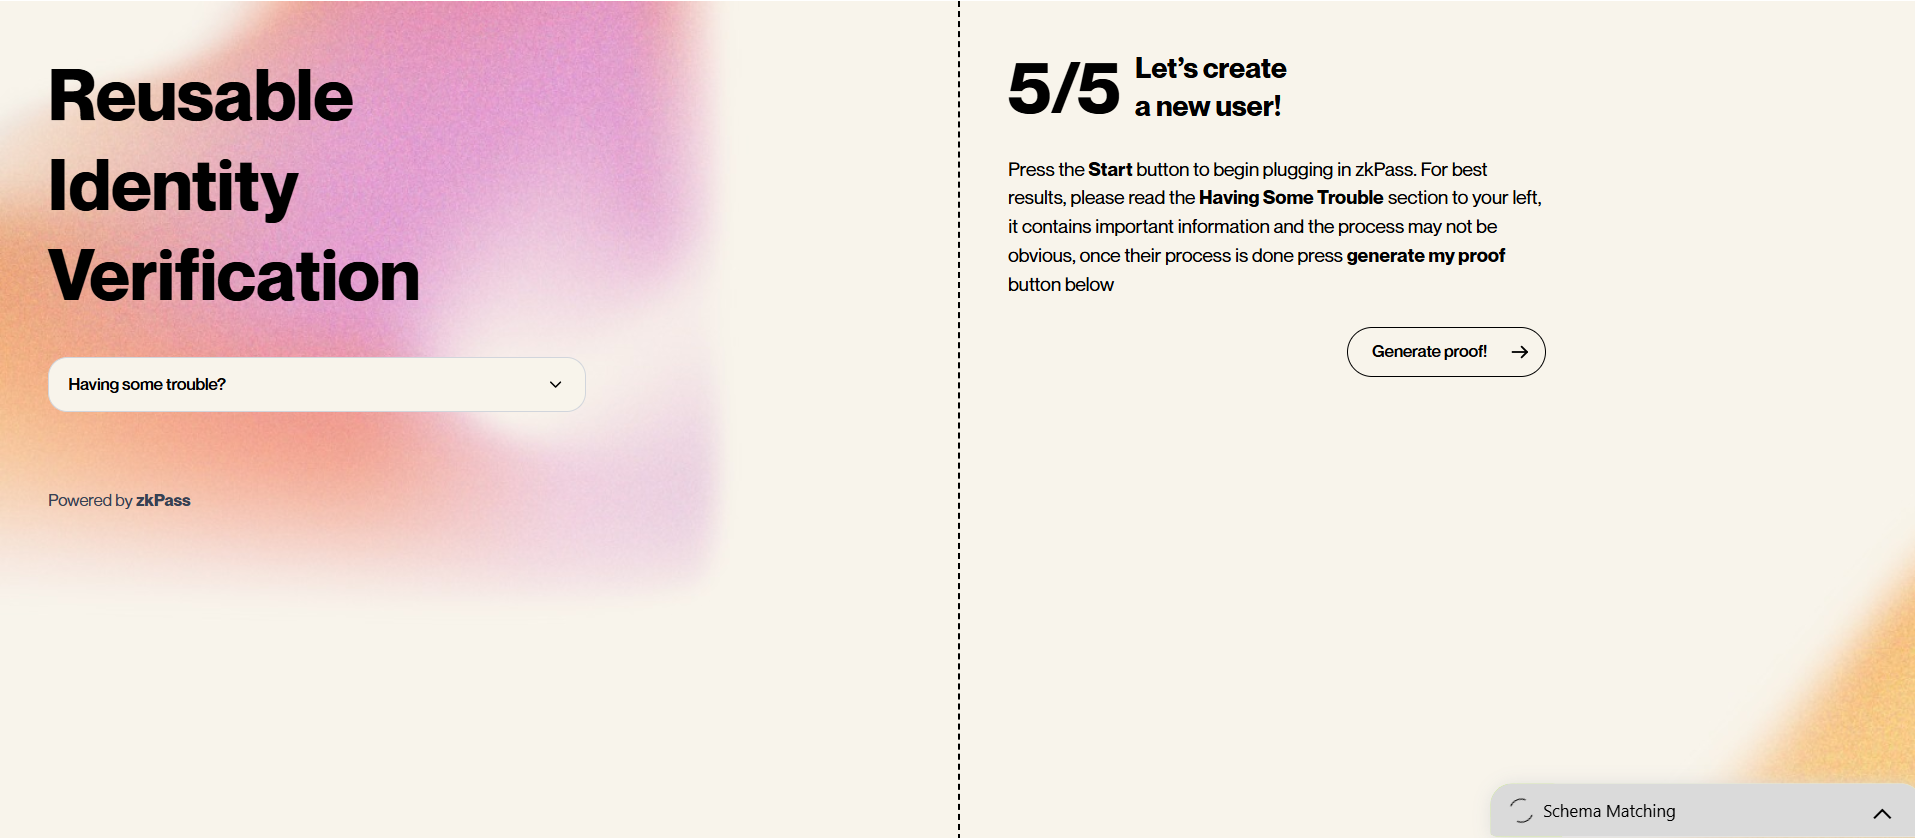
After the user uploads all required credentials, their request will be processed. Once the KYC is completed, the end user will receive an email containing their proof.
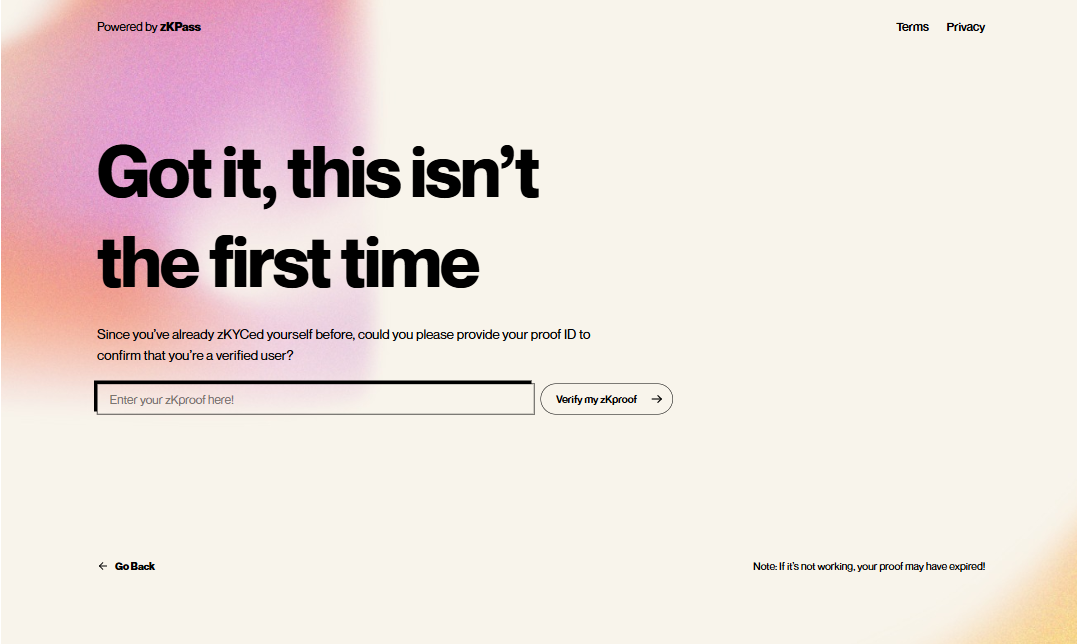
Reuse Proof Screen
Enter an Existing Proof ID
All UI components are hosted in the zkPass secure environment, ensuring that you don’t handle sensitive data directly. This significantly reduces your compliance and security responsibilities.
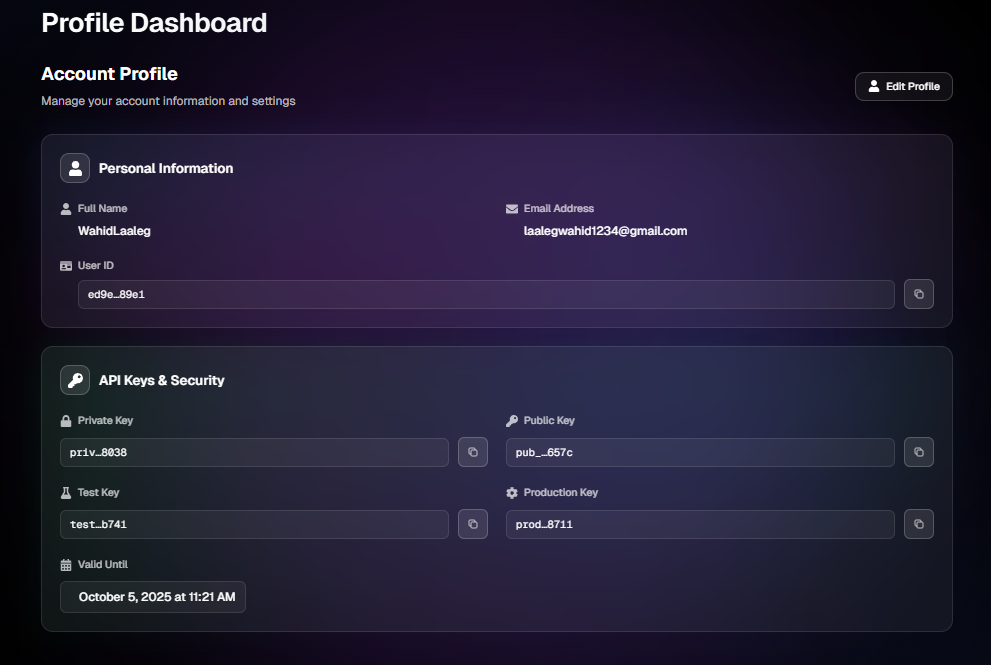
Next Steps for Developers
Begin with test API keys from User Dashboard to explore and evaluate different verification workflows.
Review pricing details based on the features and volume you plan to use here.
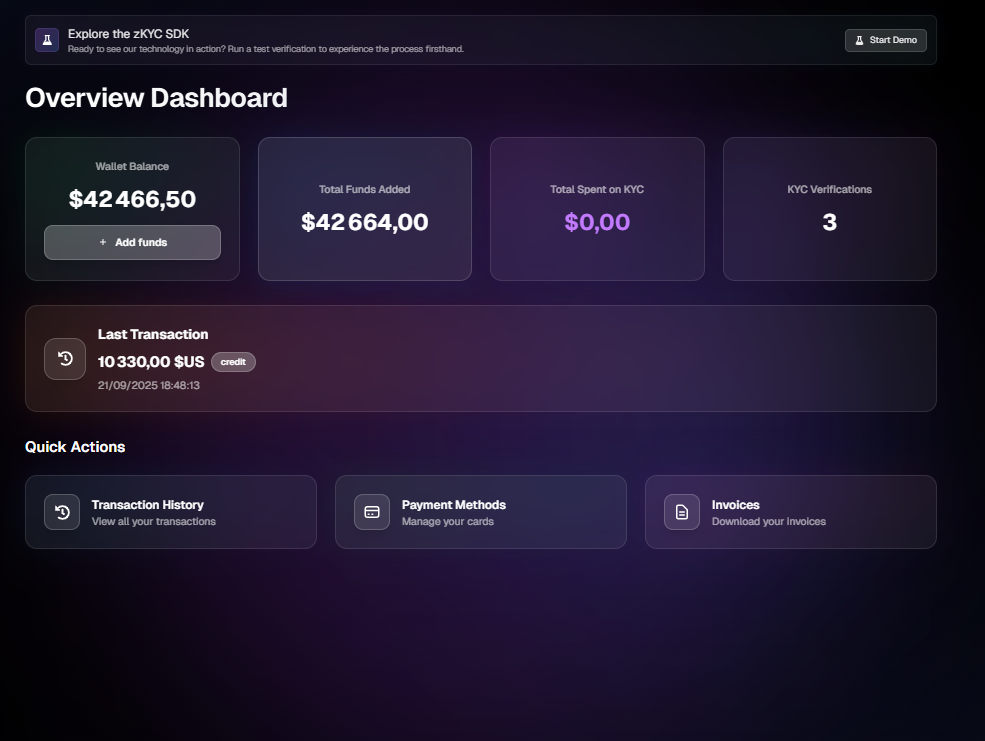
Monitor your verification proofs using the dashboard.
Check your account balance through the dashboard.
Switch to production API keys from User Dashboard when you are ready to launch.
Here is the code that test the state of the end-user:
 const userID = new URL(window.location.href).searchParams.get("id");
        console.log("UserID:", userID);

        if (!userID) {
          setError("Missing user ID in URL");
          setLoading(false);
          return;
        }

        const res = await fetch(
          https://z-kyc-sdk-mocha.vercel.app/api/kyc/verifications/${userID},
          {
            method: "GET",
            headers: {
              "x-user-id": clientid,
              "x-api-key": key,
            },
          }
        );

        if (!res.ok) {
          throw new Error(HTTP error! Status: ${res.status});
        }

        const result = await res.json();
        console.log("Verification data:", result);